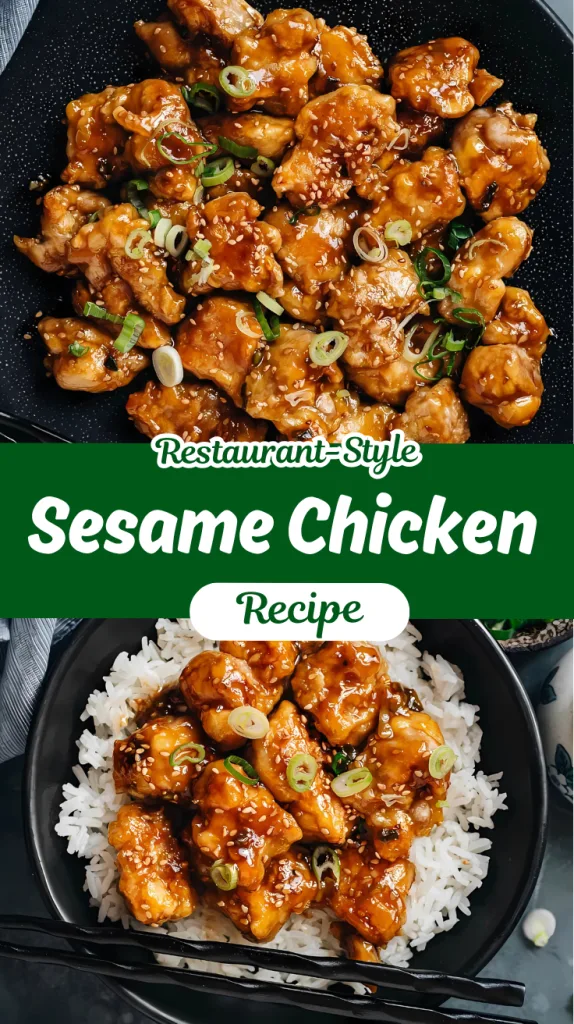
If you’re craving crispy sesame chicken but want to skip the deep frying, you’re in for a treat. This sesame chicken recipe will give you restaurant-style sesame chicken with all the juicy, tender chicken pieces and that irresistible chewy coating, without the excessive oil and sugar.
Trust me, the rich umami-packed sauce will have you coming back for more! And the best part? It’s gluten-free adaptable too. You can also try our easy orange chicken recipe for a delicious twist on a takeout classic. Let’s dive in!
Ingredients
To make this crispy sesame chicken, you’ll need:
- 1 lb (450 g) chicken thighs (or breast), cut into 1-inch pieces – I prefer thighs for their juiciness, but chicken breasts work too!
- 1/2 teaspoon salt – This helps to season the chicken before cooking.
- 1 tablespoon peanut oil (or vegetable oil) – For cooking the chicken.
- 1 egg, beaten – Coats the chicken for a crispy texture.
- 1/2 cup cornstarch – The secret to a light and crispy coating.
For the sauce:
- 1/2 cup chicken broth – Adds a savory base for the sauce.
- 2 tablespoons Shaoxing wine – Adds a deep umami flavor.
- 2 tablespoons soy sauce – The salty base for your sauce.
- 2 tablespoons Chinkiang vinegar – Gives the sauce a tangy kick.
- 4 tablespoons sugar – Balances out the acidity and saltiness of the sauce.
- 2 teaspoons sesame oil – Adds that sesame flavor we all love.
- 1 tablespoon cornstarch – Helps thicken the sauce for a glossy finish.
- 1 tablespoon toasted sesame seeds – For garnish and extra flavor.
Note: This recipe makes enough to serve 2 to 4 people depending on portion size.
Variations to Try
Want to tweak the recipe to fit your dietary needs? Here are a few options:
- Gluten-Free: Simply swap Shaoxing wine for dry sherry, use tamari instead of soy sauce, and replace Chinkiang vinegar with rice vinegar.
- Sugar-Free: You can use a sugar substitute like stevia or monk fruit to make this dish sugar-free.
- Spicy Kick: Add some red pepper flakes or chili oil to the sauce if you like a little heat with your sweet.
You can explore more of our delicious creations—check our chicken recipes for your next flavorful meal idea.
Cooking Time
- Prep Time: 15 minutes
- Cook Time: 10 minutes
- Total Time: 25 minutes
Equipment You Need
- Large nonstick skillet – To cook the chicken evenly and crispy.
- Medium-sized bowl – For mixing the sauce ingredients.
- Tongs or chopsticks – To separate the chicken pieces while frying.
- Paper towels – To remove excess oil from the pan.
How to Make Crispy Sesame Chicken?
Follow the simple instruction.
Step 1: Marinate the Chicken
Start by cutting your chicken into 1-inch pieces and seasoning it with salt. Toss the chicken pieces in a large bowl, making sure they’re evenly coated with the salt. Let the chicken marinate for about 10 to 15 minutes while you prepare the rest of the ingredients. This will give the chicken time to soak in the salt, ensuring each piece is well-seasoned.
Step 2: Prepare the Sauce
While the chicken is marinating, it’s time to whip up the delicious sauce. In a medium-sized bowl, combine chicken broth, Shaoxing wine, soy sauce, Chinkiang vinegar, sugar, sesame oil, and cornstarch. Stir well to ensure the sugar dissolves completely. This sauce will coat the chicken and give it that irresistible umami flavor we all love.
Step 3: Coat the Chicken
Now it’s time to prepare the chicken for cooking. Add the beaten egg and peanut oil to the marinated chicken. Stir it well to coat the chicken pieces evenly. After that, sprinkle the cornstarch over the chicken and toss it until each piece has a light and even coating. This step is crucial for the crispy texture!
Step 4: Fry the Chicken
Heat 1 tablespoon of peanut oil in a large nonstick skillet over medium-high heat. Once the oil is hot, add the chicken pieces, making sure they don’t overlap too much. Use tongs or chopsticks to separate the pieces so they cook evenly. Let the chicken cook for about 2 to 3 minutes on each side until golden and crispy. Once done, transfer the chicken to a plate and let it cool for a couple of minutes to keep the crispiness intact.
Step 5: Cook the Sauce
In the same skillet, wipe off the excess oil with paper towels, leaving just a tablespoon behind. Add the minced garlic and sliced green onions to the pan, and stir-fry for about 30 seconds until fragrant. Then, pour in the sauce mixture you prepared earlier. Stir constantly to help the cornstarch dissolve and thicken the sauce. Once it’s bubbling and thickened, add the crispy chicken back into the pan, stirring well to coat all the pieces in the sauce. After a quick toss, remove the skillet from the heat.
Step 6: Serve and Enjoy!
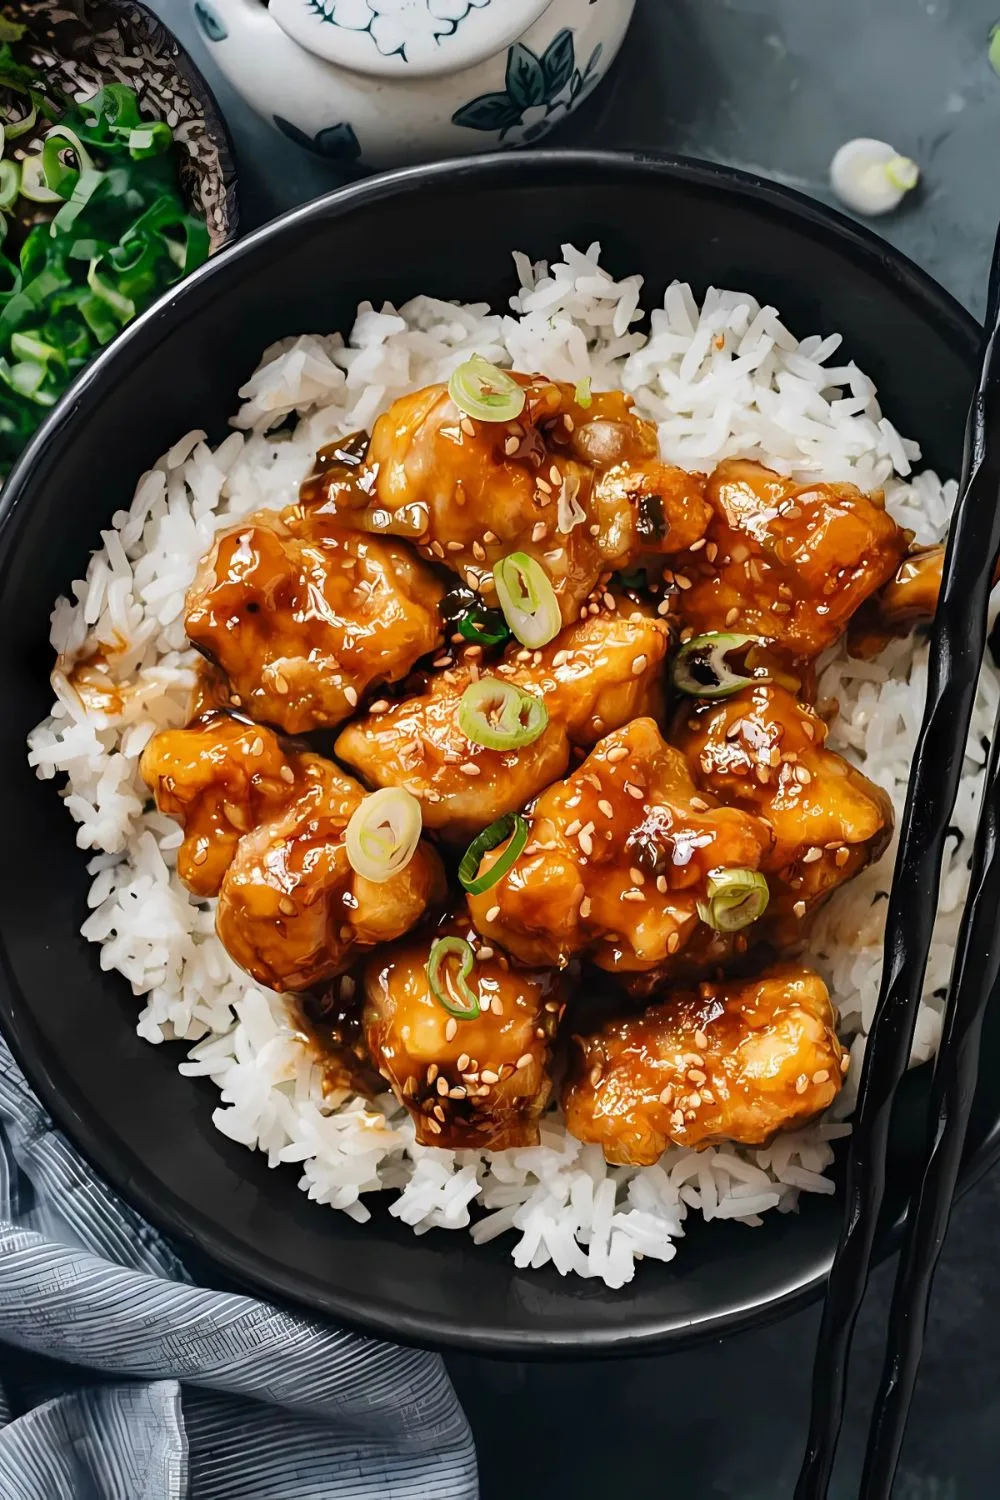
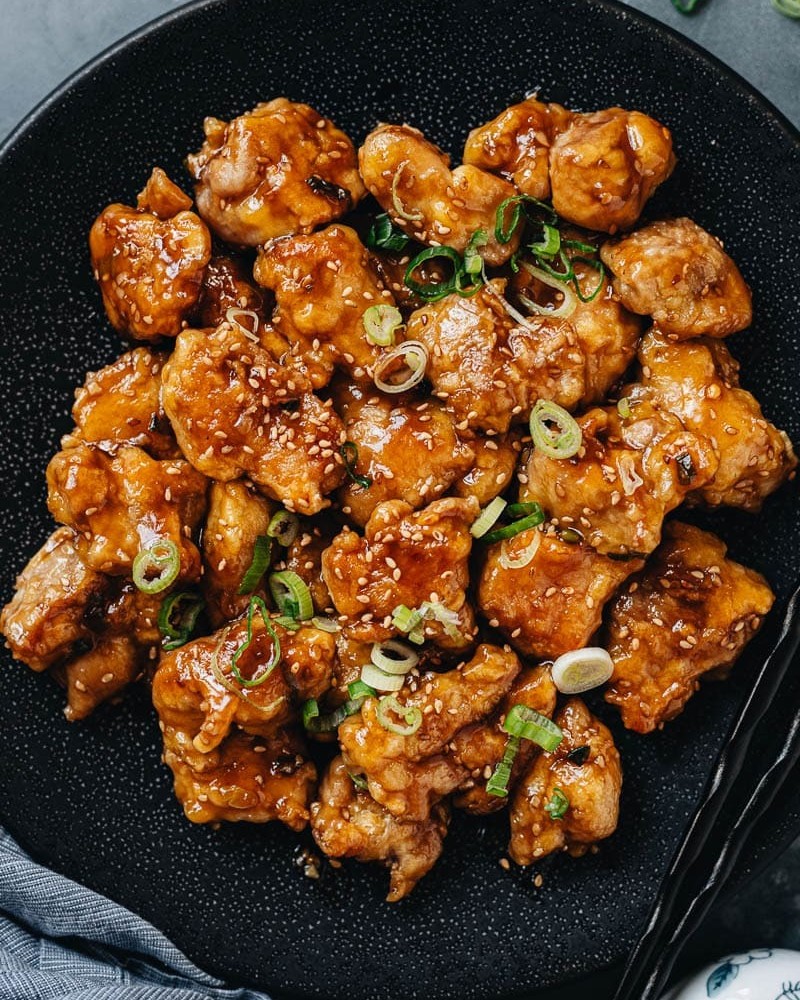
Transfer the crispy sesame chicken to a plate and garnish with toasted sesame seeds and extra green onions for a pop of color and flavor. Serve it hot over a bed of steamed rice for a complete meal. Your sesame chicken is now ready to be devoured!
Additional Tips for Making this Recipe Better
I’ve made this recipe multiple times, and here are a few personal tips I’ve picked up along the way to make it even better:
- Double the sauce: If you love extra sauce for your rice, feel free to double the sauce ingredients!
- Let the chicken rest: After frying, give the chicken a couple of minutes to rest before serving. It will keep the coating crispy.
- Add vegetables: Toss in some veggies like bell peppers, broccoli, or snap peas for a more balanced meal.
- Don’t overcrowd the pan: If your skillet isn’t big enough to hold all the chicken at once, fry it in batches. This way, each piece will get the crispy texture it deserves.
How to Serve Crispy Sesame Chicken?
This crispy sesame chicken is best served hot and fresh. Here are some serving suggestions to elevate your dish:
- Over steamed rice: The tender chicken and flavorful sauce pair perfectly with plain steamed rice or Ham Salad.
- With stir-fried vegetables: For a well-rounded meal, serve the sesame chicken alongside stir-fried vegetables like bell peppers, broccoli, or snow peas.
- Garnish: Don’t forget to garnish with extra sesame seeds and sliced green onions for a visually appealing presentation.
Nutritional Information
Here’s a breakdown of the basic nutritional information per serving (without rice):
- Calories: 450 kcal
- Protein: 34g
- Carbohydrates: 16g
- Fat: 30g
(Note: Nutritional values will vary depending on the specific ingredients and portion sizes used.)
How to Store the Crispy Sesame Chicken
Refrigerating: Store leftover sesame chicken in an airtight container in the refrigerator for up to 3 days. The chicken may lose some of its crispiness, but it will still be flavorful.
Freezing: If you want to freeze it, let the chicken cool completely and place it in an airtight freezer bag or container. It will keep for up to 1 month in the freezer.
Reheating: To reheat, you can use the stovetop to gently warm the chicken and sauce. If you prefer the crispy texture, reheating in the oven for about 10 minutes at 350°F (175°C) works wonders.
Why You’ll Love This Recipe?
There are so many reasons why this sesame chicken will become one of your go-to recipes:
- Crispy without deep frying: You get all the crispy goodness without the need for deep frying.
- Quick and easy: This recipe takes just 25 minutes from start to finish.
- Flavorful sauce: The sauce is packed with umami and sweetness, creating a perfect balance.
- Gluten-free adaptable: You can easily make this dish gluten-free with a few simple swaps.
- Customizable: Add your favorite vegetables or adjust the sweetness level to suit your taste.
FAQs
How can I make the chicken even crispier?
To make the chicken extra crispy, ensure you don’t overcrowd the pan while frying. This allows each piece to crisp up evenly.
Can I use chicken breast instead of thighs?
Yes, you can use chicken breasts, but they might be a bit drier than thighs. If you prefer breast meat, make sure not to overcook it.
Can I make this dish ahead of time?
You can prepare the chicken ahead of time, but it’s best to cook the chicken and sauce fresh to maintain its crispiness.
What can I serve with crispy sesame chicken?
This dish pairs wonderfully with steamed rice, stir-fried veggies, or even a light salad.