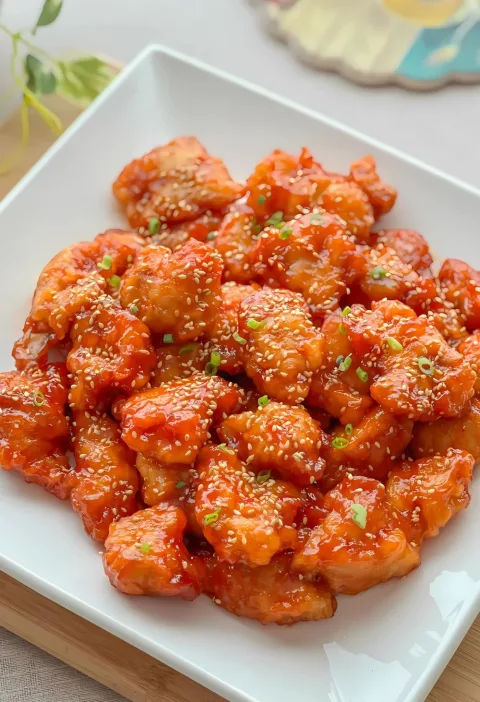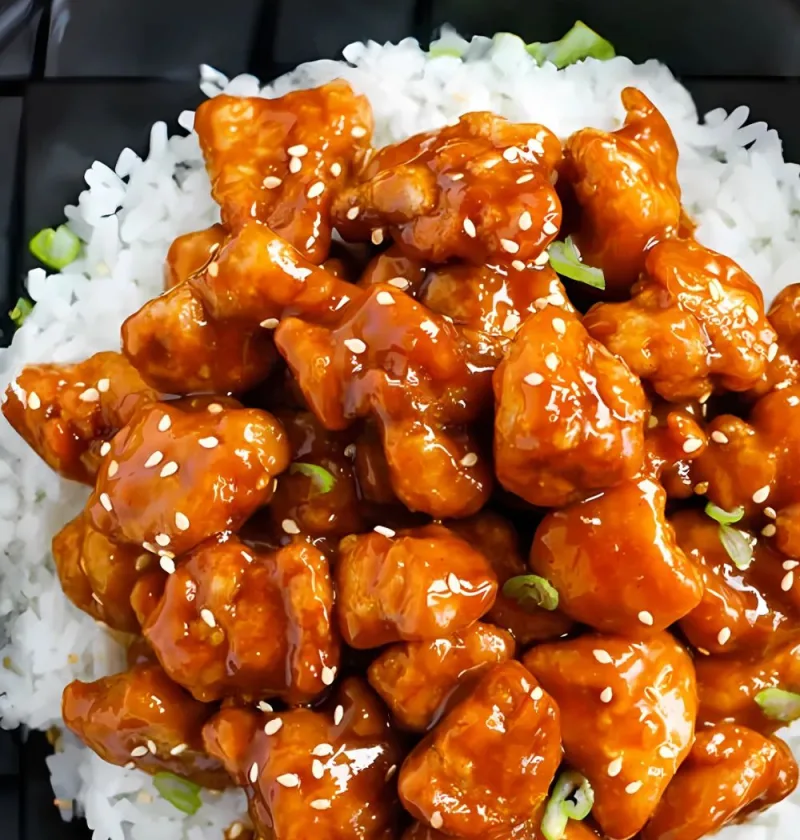
I just made this Orange Chicken Recipe Easy at home, and let me tell you—it was the best thing I’ve cooked in a while. Crispy, golden chicken coated in a sticky, tangy-sweet orange glaze? Yes, please! I used fresh ingredients, followed a few simple steps, and got restaurant-level results.
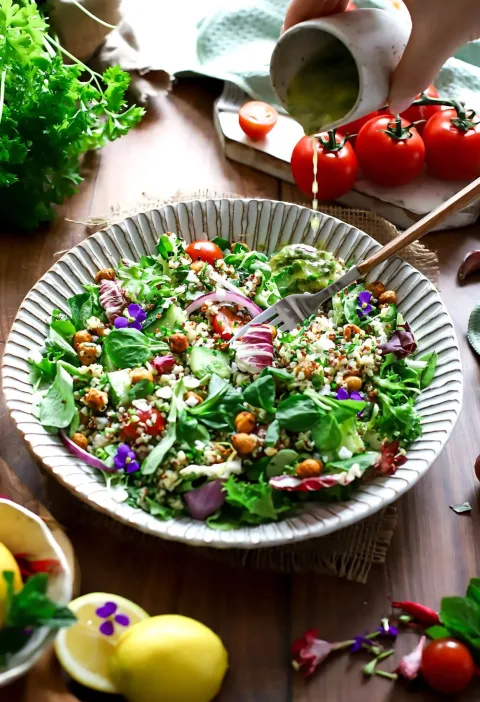
It honestly reminded me how satisfying a simple home-cooked meal can be. If you’re looking to impress your taste buds or your family, this is the one. While exploring some Caprese Salad Recipe ideas earlier, I stumbled upon this gem and had to try it—worth every minute!
Additional Tips for Making This Recipe Better
Let me share some little tricks I used that made a big difference in flavor and texture. These tips are all from my own kitchen experience:
- Use fresh orange juice – Bottled juice works, but fresh gives the sauce a brighter, zesty kick.
- Double-coat your chicken – I dipped the chicken in egg, then in a mix of cornstarch and flour. That created an ultra-crispy layer that held the sauce beautifully.
- Don’t overcrowd the pan – Fry in small batches. If you add too much chicken at once, the oil temperature drops, and the chicken gets soggy.
- Let the sauce simmer gently – I cooked it slowly until it thickened just right. It became glossy and clingy without being sticky.
- Add chili flakes wisely – I like a little spice, so I added just a pinch. You can skip it if you prefer a sweeter taste.
These little changes turned this already-great recipe into something amazing!
Easy Variations to Try
You can totally customize this recipe to match your preferences or dietary needs. I’ve tried a few different takes when experimenting with salad recipes, and the same approach works here too!
- Dairy-Free: Good news—this recipe is naturally dairy-free!
- Gluten-Free: Use gluten-free soy sauce and a gluten-free flour mix instead of all-purpose flour.
- Sugar-Free: Replace honey with sugar-free syrup or a natural sweetener like stevia or monk fruit.
- Add Veggies: Stir-fried bell peppers, broccoli, or snap peas add color and nutrition.
- Swap the Protein: Try tofu, shrimp, or even cauliflower for a fun twist on the classic.
Play with flavors, and you might discover a new favorite version!
Equipment You Need for This Recipe
Let’s talk tools—nothing fancy, just basics that get the job done.
- Mixing bowls – For prepping your chicken and coating it.
- Whisk or fork – To beat your egg and mix batter easily.
- Tongs – For safely flipping and removing chicken from hot oil.
- Frying pan or deep skillet – The key to crispy, evenly fried chicken.
- Saucepan – Used to simmer and thicken that beautiful orange glaze.
- Paper towel-lined plate – Perfect for draining oil off the fried chicken.
Having these ready makes cooking smoother and faster.
How to Serve Orange Chicken for the Best Experience
Presentation can turn a simple dinner into something special. Here’s how I love to serve this delicious dish.
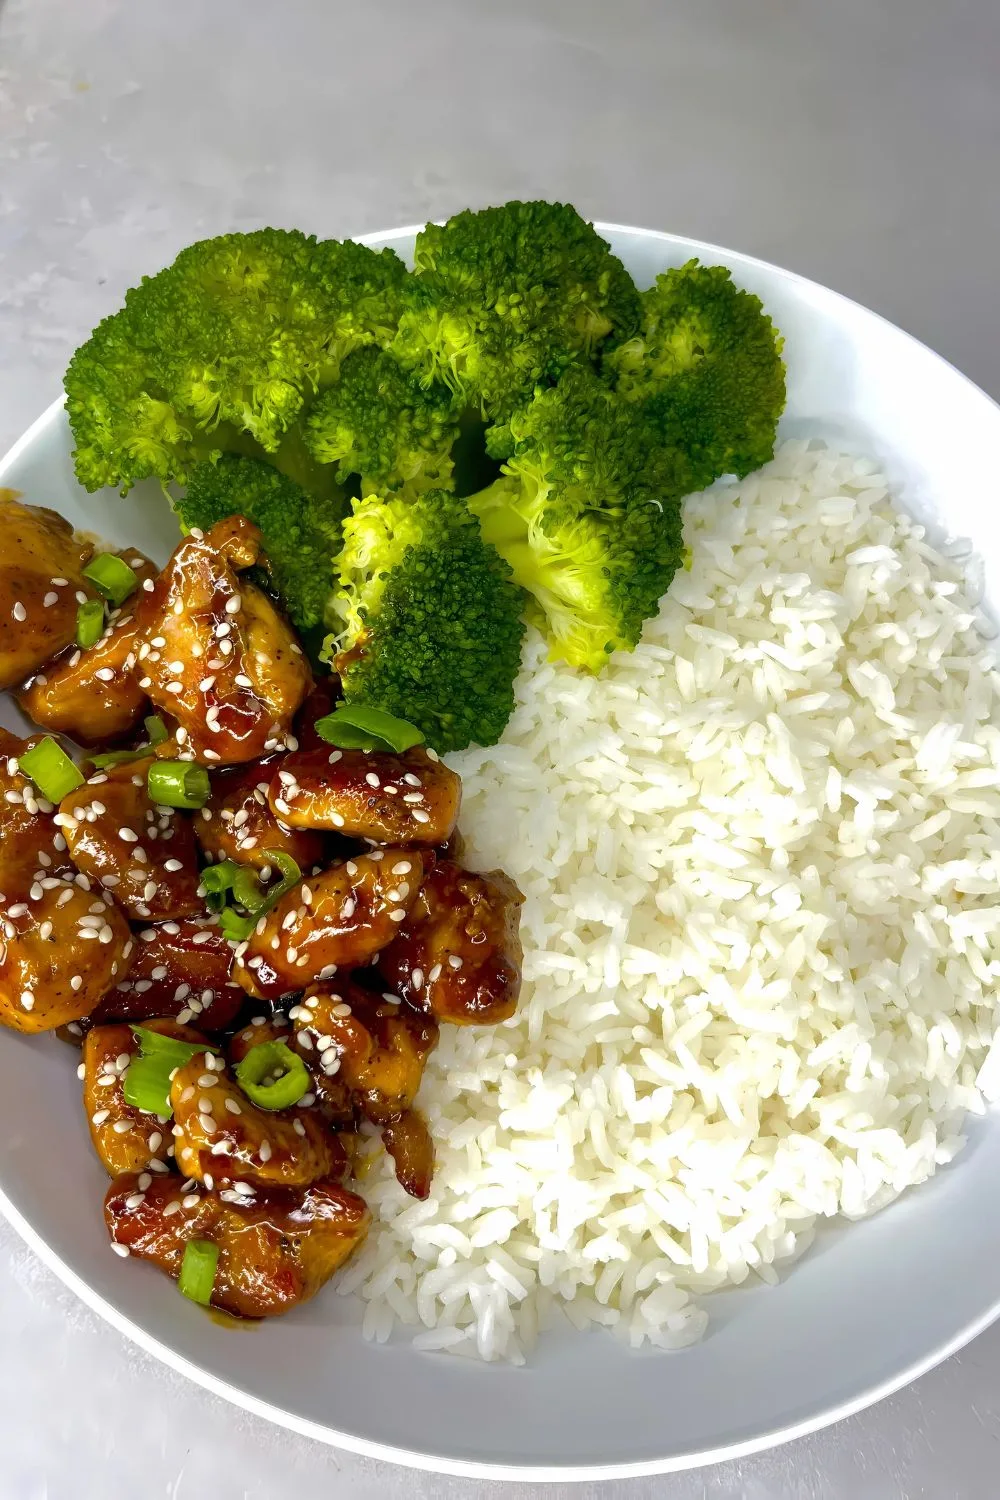
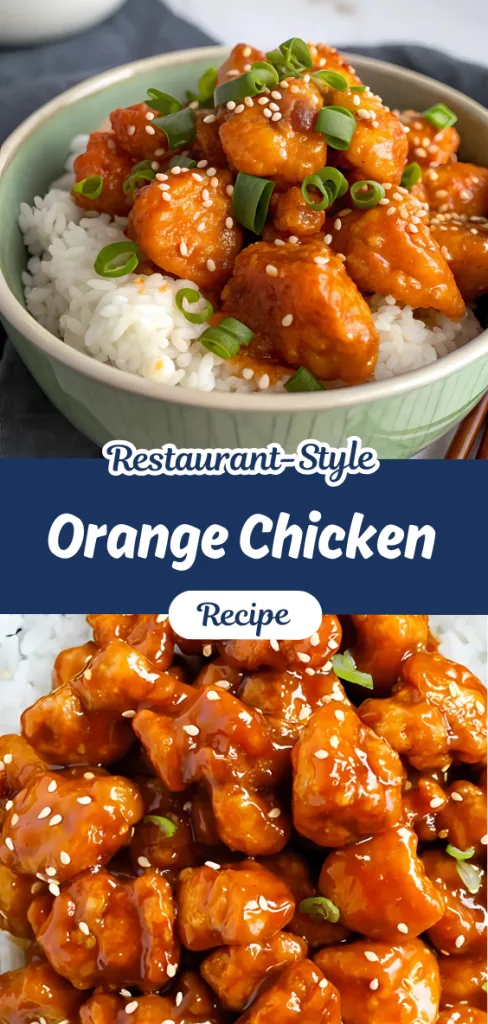
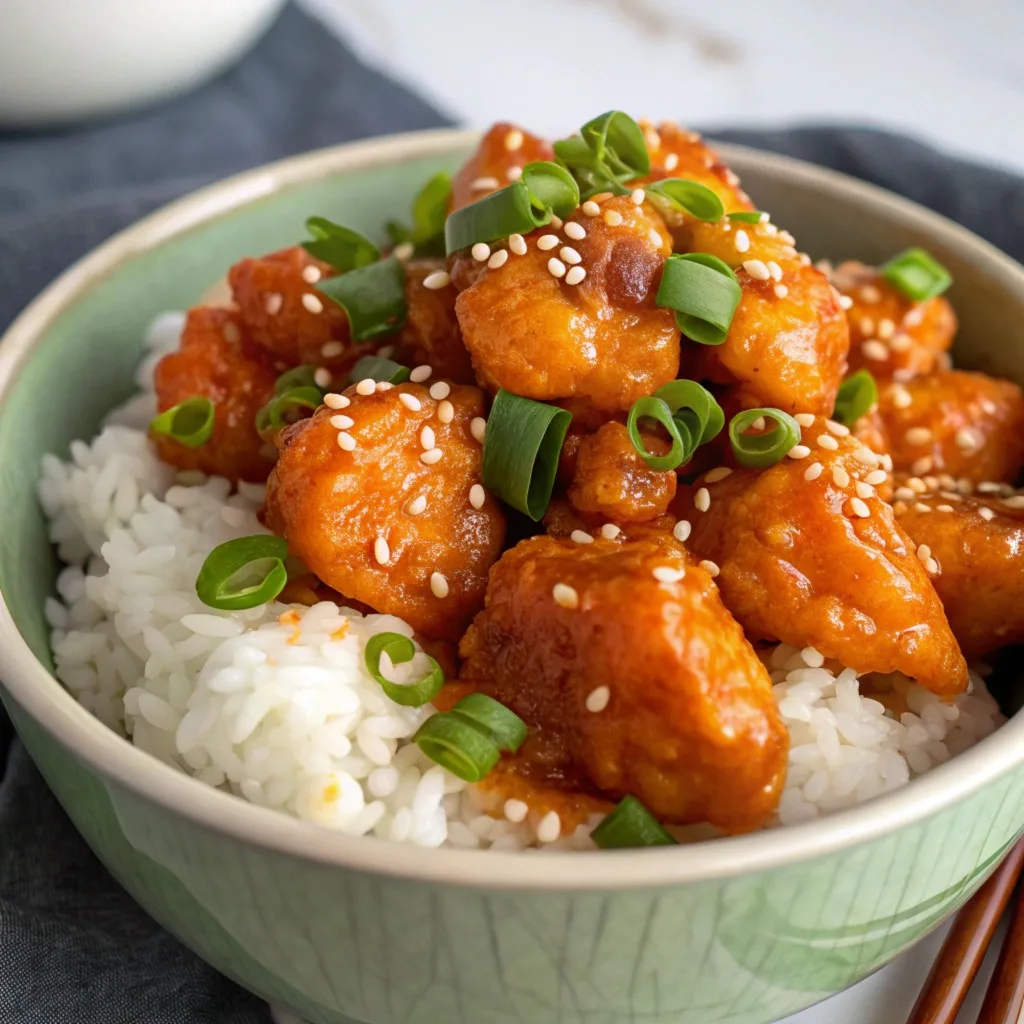
Serve your crispy orange chicken on a bed of hot, steamed jasmine rice or buttery garlic noodles. The sauce coats each grain or strand, making every bite flavorful. Garnish with a sprinkle of sesame seeds or finely chopped green onions for a pop of color.
If you want to keep it fresh, serve with a light cucumber salad on the side. It’s almost like pairing it with a chilled Mac Salad Recipe for contrast—cool, crunchy, and refreshing. For bonus points, serve it in a white bowl or plate—it makes the orange glaze pop!
How to Store Orange Chicken the Right Way
- Refrigerating: Store any leftovers in an airtight container. It will stay fresh in the fridge for up to 3 days. Reheat in a pan or oven to keep the chicken crispy.
- Freezing: You can freeze the chicken and sauce separately for up to 1 month. Let both thaw in the fridge overnight before reheating and combining.
- Reheating: For best results, reheat the chicken in the oven or air fryer at 350°F for 5–7 minutes. Microwave the sauce separately and then toss it with the hot chicken.
Why You’ll Love This Recipe
This dish is loaded with flavor and super easy to make. Here are a few more reasons to try it today:
- Quick and Simple: Ready in just 35 minutes with easy-to-follow steps.
- Family Favorite: Everyone loves it—even picky eaters.
- Restaurant-Style at Home: You get that crispy texture and bold flavor without takeout prices.
- Customizable: Adjust spice, sweetness, or even swap the protein to make it your own.
- No Fancy Ingredients: Everything is pantry-friendly and affordable.
Trust me, once you make this, it’ll be in your weekly dinner rotation!
More Helpful Info for Cooking This Recipe Right
Here are a few extra bits of useful info that helped me:
- Oil Temperature Matters: Try to keep your frying oil at 350°F for best crispiness.
- Use Fresh Garlic: Don’t use garlic powder—the fresh minced cloves give the sauce more punch.
- Keep Stirring the Sauce: This avoids clumps when you add the cornstarch slurry.
- Taste As You Go: After simmering the sauce, taste and adjust—maybe a little more soy sauce or honey, depending on your taste.
Making this recipe isn’t just about following steps—it’s about building flavor and making it work for your own style.
Orange Chicken Recipe
Ingredients
Method
- Start by prepping your chicken. Cut the boneless, skinless chicken breasts into small bite-sized pieces. In a large bowl, mix the cornstarch, all-purpose flour, salt, and black pepper. Beat the egg in a separate bowl. Dip each piece of chicken into the egg first, then roll it in the dry flour mixture until fully coated.
- This double-coating method creates a super crispy texture once fried. Be sure to let the coated chicken rest for a couple of minutes before frying—this helps the coating stick better and cook more evenly in the hot oil.
- Heat the vegetable oil in a deep skillet over medium-high heat. Once the oil is hot (you can test with a small piece of batter—it should sizzle immediately), fry the chicken pieces in batches. Avoid overcrowding the pan so the oil temperature stays consistent.
- Fry each batch for about 4–5 minutes, or until the chicken is golden brown and cooked through. Use tongs to remove the fried chicken and transfer it to a plate lined with paper towels. This will absorb any excess oil and keep the chicken crispy.
- In a separate saucepan, combine freshly squeezed orange juice, honey, rice vinegar, soy sauce, minced garlic, and red chili flakes if you like some heat. Place the pan over medium heat and bring the mixture to a gentle simmer. Stir occasionally to let the flavors combine and develop.
- Next, stir the cornstarch and water to make a smooth slurry. Slowly pour it into the simmering sauce while stirring constantly. Let it cook for about 2 minutes, or until the sauce thickens and becomes glossy. Don’t overcook—it should have a sticky, syrup-like consistency.
- Once the sauce is ready, add the fried chicken to the pan. Gently toss the chicken pieces in the orange glaze until they are fully coated. The crispy coating will soak in just enough sauce to stay crunchy while still being flavorful and juicy inside.
- Let the chicken cook with the sauce for about a minute on low heat. This step helps the glaze stick better and ensures every bite has a balance of tangy, sweet, and savory flavor.
- Your orange chicken is now ready to serve! For a beautiful finish, sprinkle with sesame seeds or chopped green onions if you like. Serve hot with freshly steamed white rice or noodles for a complete meal that feels like your favorite takeout—only better.