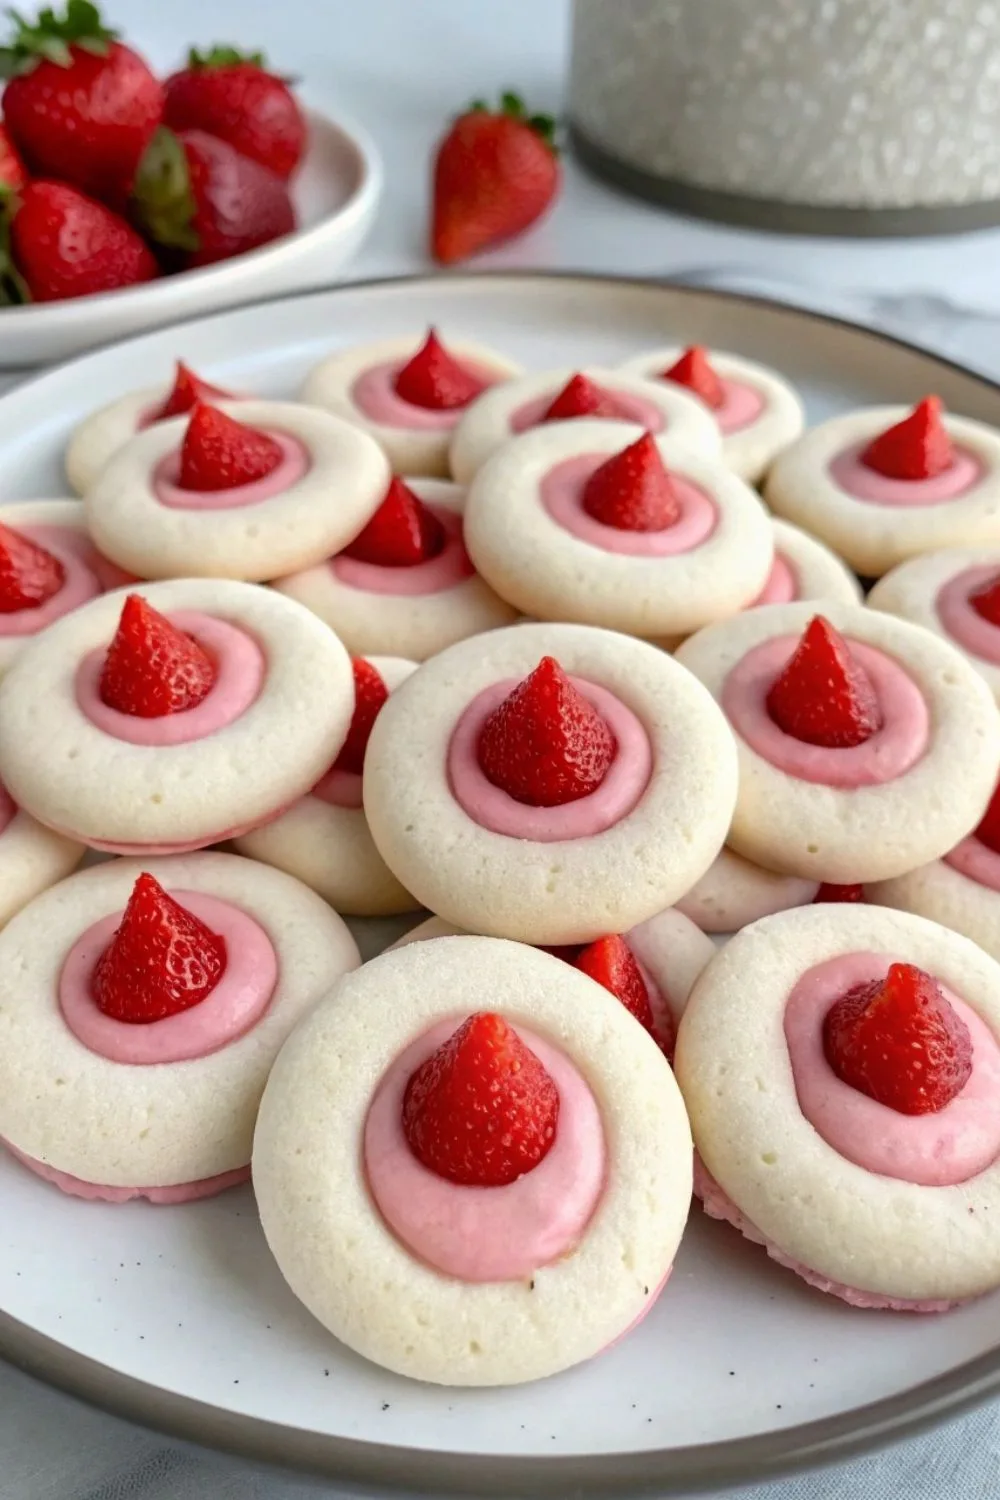
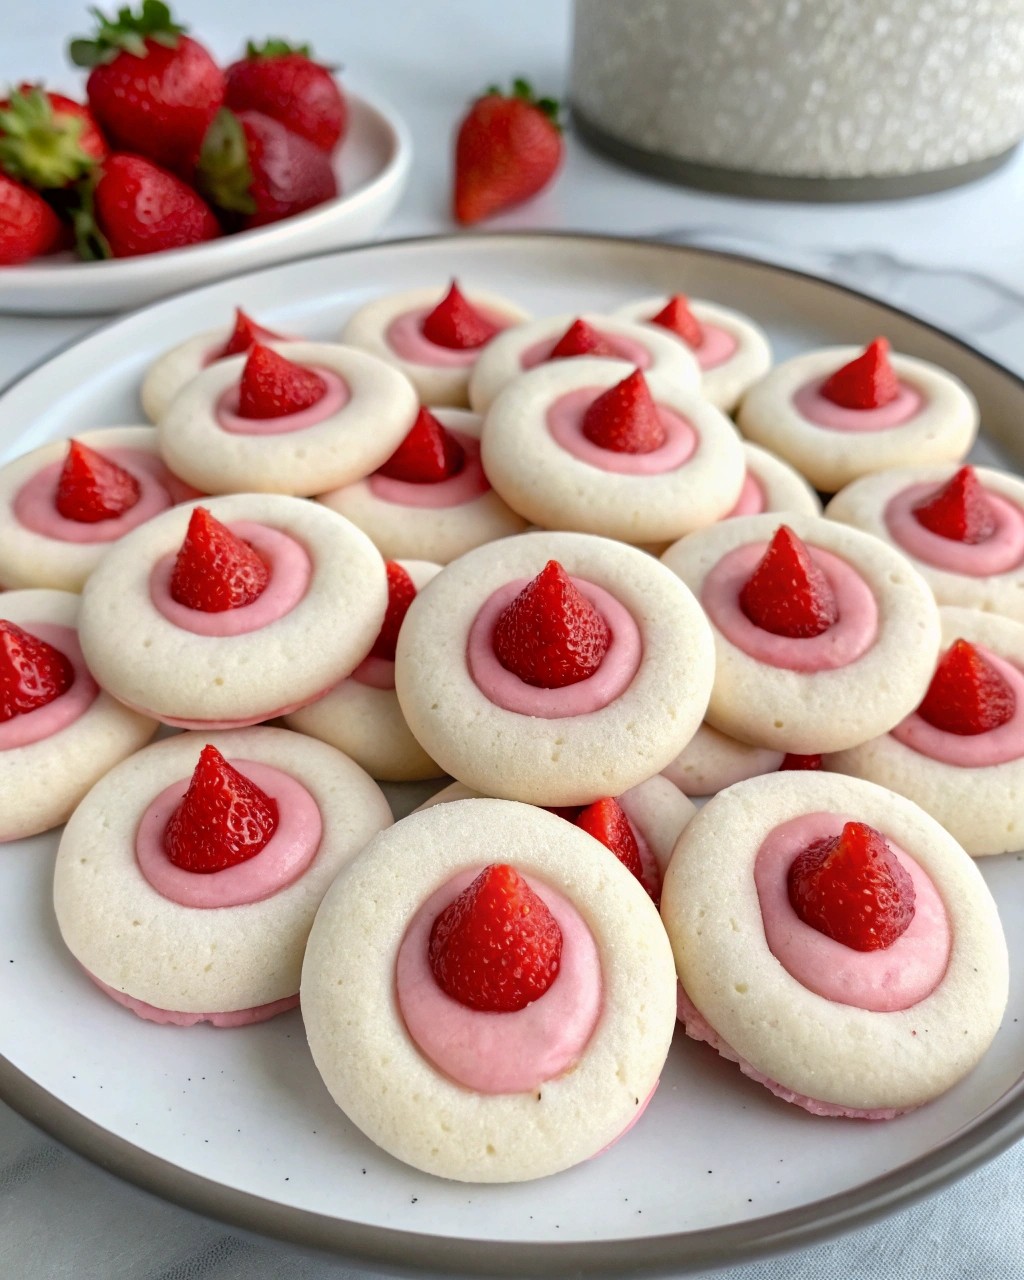
When I first made these strawberry kiss cookies, I was blown away by how soft, buttery, and flavorful they turned out. The combination of strawberry jam and a chocolate kiss on top creates a delightful balance of fruity sweetness and rich chocolate.
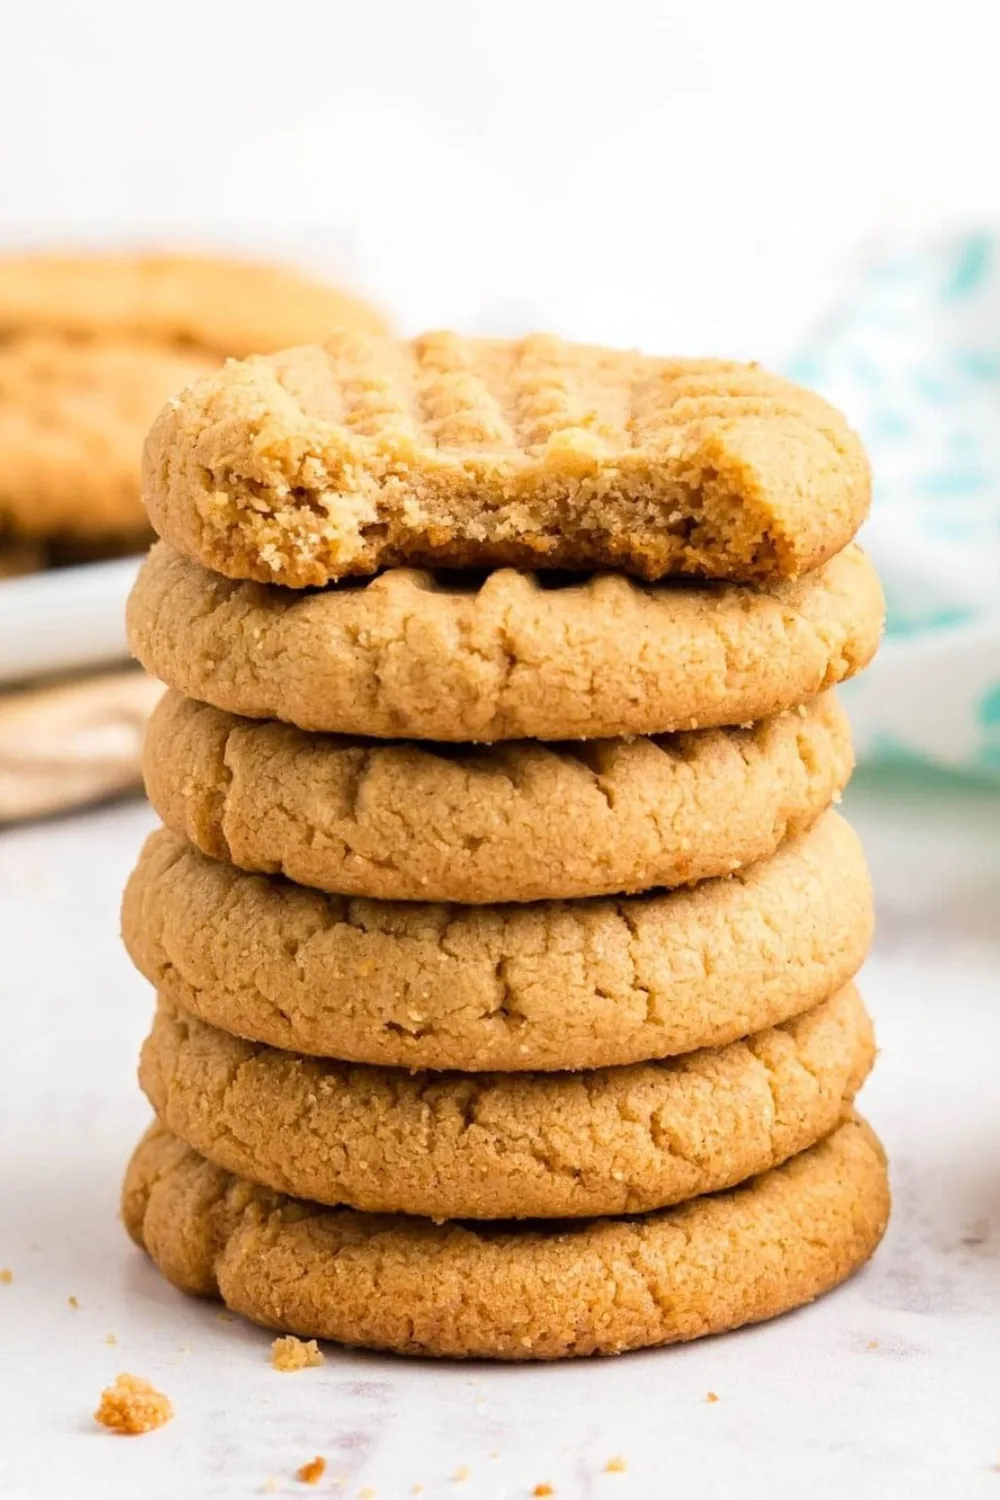
These cookies are perfect for any occasion, whether it’s a family gathering, a holiday treat, or just a sweet indulgence for yourself. You can also enjoy similar easy dessert recipes like peanut butter cookies for another quick and satisfying treat.

Ingredients for Strawberry Kiss Cookies
Here’s what you’ll need to make these delicious cookies. Each ingredient plays a key role in creating the perfect texture and flavor.
- 1 ½ cups all-purpose flour – Provides structure to the cookies.
- ½ tsp baking powder – Helps the cookies rise slightly.
- ½ cup butter, softened – Adds richness and a soft texture.
- ½ cup sugar – Sweetens the cookies and balances the strawberry flavor.
- 1 egg – Acts as a binder to hold everything together.
- 1 tsp vanilla extract – Enhances the overall flavor.
- ¼ cup strawberry jam – The star ingredient that gives the cookies their fruity flavor.
- 12 chocolate kisses – Adds a rich, chocolatey finish to each cookie.
Note: This recipe makes 12 cookies, perfect for sharing or enjoying over a few days.
Variations to Try
These cookies are incredibly versatile, and you can easily customize them to suit your preferences. Here are some ideas:
- Dairy-Free Option: Use plant-based butter and dairy-free chocolate kisses.
- Sugar-Free: Replace sugar with a natural sweetener like stevia or monk fruit.
- Extra Flavor: Add a pinch of cinnamon or a few drops of almond extract for a unique twist.
- Jam Variations: Swap strawberry jam with raspberry, apricot, or even orange marmalade for a different flavor profile.
For more creative dessert ideas, check out these dessert recipes and find your next favorite treat.
Cooking Time
Here’s how long it’ll take to make these cookies:
- Prep Time: 10 minutes
- Cooking Time: 12 minutes
- Total Time: 22 minutes
Equipment You’ll Need
Having the right tools makes baking these cookies a breeze:
- Mixing bowls: For combining wet and dry ingredients.
- Electric mixer: To cream the butter and sugar until fluffy.
- Cookie scoop: Ensures evenly sized cookies.
- Baking sheet: For baking the cookies.
- Parchment paper: Prevents sticking and makes cleanup easy.
How to Make Strawberry Kiss Cookies
Making these cookies is simple and fun. Follow these steps for perfect results every time.
Step 1: Preheat the Oven
Start by preheating your oven to 350°F (175°C). Line a baking sheet with parchment paper to ensure the cookies bake evenly and don’t stick.
Step 2: Mix the Dry Ingredients
In a medium bowl, whisk together the flour and baking powder. This step ensures the baking powder is evenly distributed, giving the cookies a consistent rise.
Step 3: Cream the Butter and Sugar
In a separate bowl, use an electric mixer to cream the softened butter and sugar until light and fluffy. This step is crucial for creating a soft and tender cookie.
Step 4: Add Wet Ingredients
Mix in the egg, vanilla extract, and strawberry jam until well combined. The jam not only adds flavor but also gives the dough a slight pink hue.
Step 5: Combine and Shape
Gradually add the dry ingredients to the wet mixture, mixing until just combined. Scoop the dough onto the prepared baking sheet, spacing them about 2 inches apart.
Step 6: Bake and Add the Chocolate Kiss
Bake the cookies for 10–12 minutes, or until the edges are set. While the cookies are still warm, press a chocolate kiss into the center of each one. Let them cool completely before serving.
Additional Tips for Making This Recipe Better
From my experience, these tips can take your strawberry kiss cookies to the next level:
- Use room-temperature ingredients: This helps the dough mix more evenly.
- Don’t overbake: The cookies will continue to firm up as they cool, so take them out when the edges are just set.
- Chill the dough: If the dough feels too soft, refrigerate it for 15 minutes before baking.
- Experiment with toppings: Try using white chocolate kisses or drizzle melted chocolate over the cookies for extra flair.
How to Serve Strawberry Kiss Cookies
These cookies are delightful on their own, but here are some serving ideas to make them even more special:
- With Milk: A classic pairing that never fails.
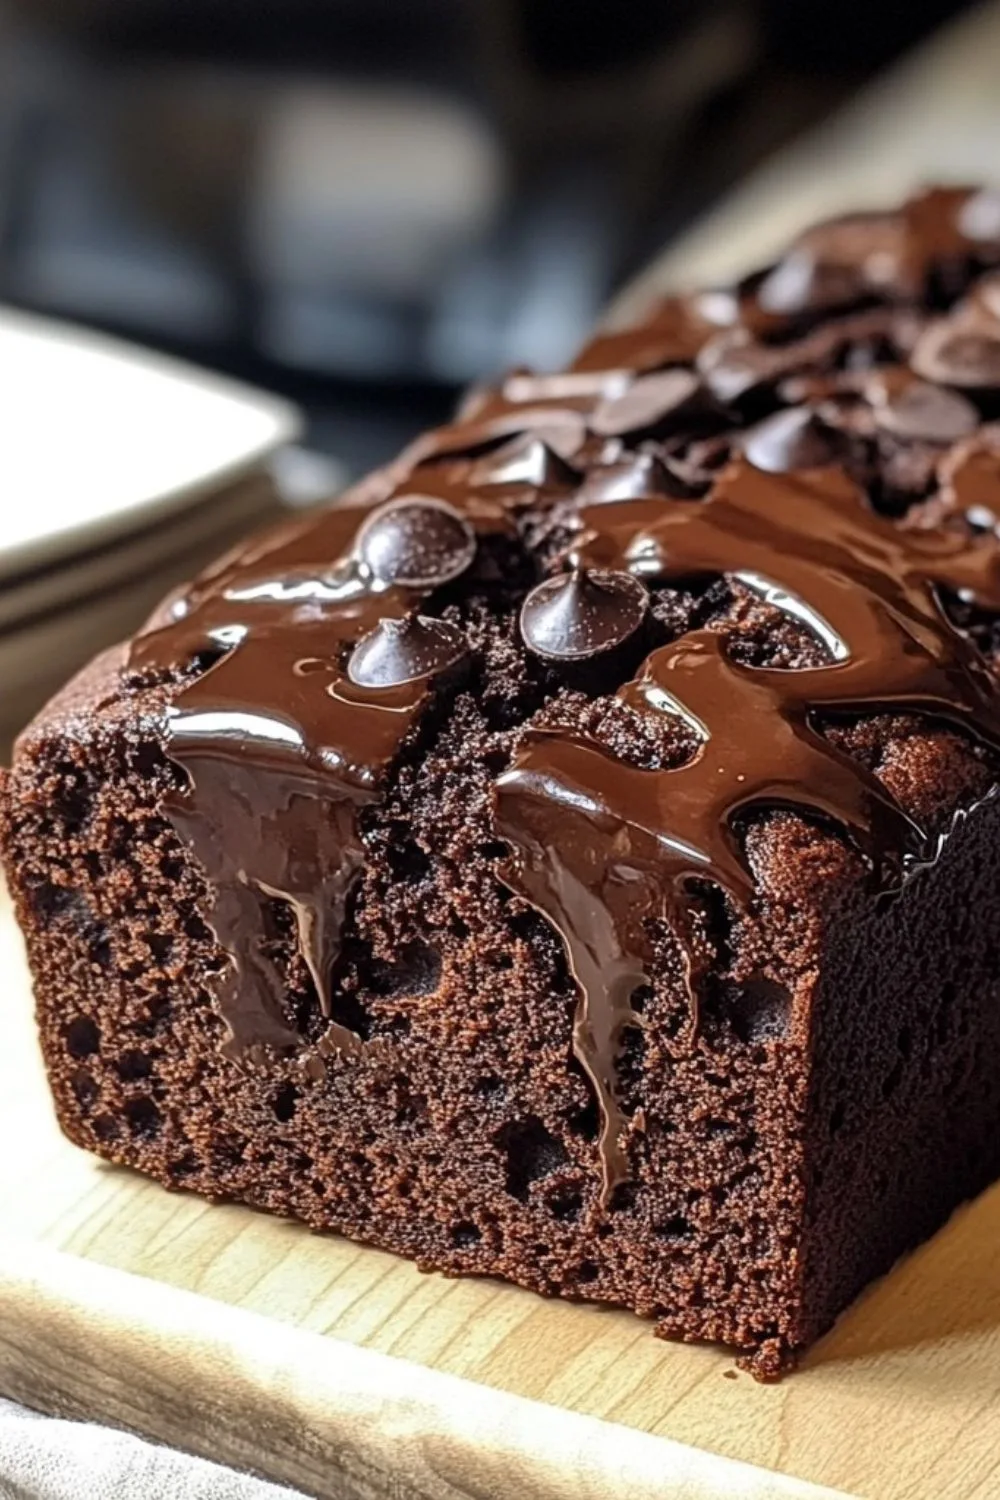
- As a Dessert Platter: Serve alongside hot fudge brownie bread for a variety of flavors.
- With Ice Cream: Crumble the cookies over vanilla ice cream for a decadent treat.
Nutritional Information
Here’s a quick look at the nutritional breakdown per cookie:
- Calories: 180
- Protein: 2g
- Carbohydrates: 22g
- Fat: 9g
How to Store Strawberry Kiss Cookies
Keep your cookies fresh with these storage tips:
- Refrigerating: Store in an airtight container in the fridge for up to 1 week.
- Freezing: Place the cookies in a freezer-safe bag and freeze for up to 3 months. Thaw at room temperature before serving.
- Reheating: Warm the cookies in the microwave for 10 seconds to enjoy them soft and fresh.
Why You’ll Love This Recipe
This recipe is a winner for so many reasons:
- Easy to Make: Perfect for bakers of all skill levels.
- Customizable: Easily adapted to suit dietary preferences.
- Quick to Prepare: Ready in under 30 minutes.
- Crowd-Pleaser: Everyone will be asking for seconds.
- Perfect Balance of Flavors: The fruity jam and rich chocolate are a match made in heaven.
FAQs
Can I use a different type of jam?
Absolutely! Raspberry, apricot, or even blueberry jam would work wonderfully.
Can I make the dough ahead of time?
Yes, you can refrigerate the dough for up to 24 hours before baking.
Can I use white chocolate kisses?
Yes, white chocolate kisses add a unique and delicious twist to this recipe.
How do I know when the cookies are done?
The edges should be set, and the tops should look slightly glossy. They’ll firm up as they cool.