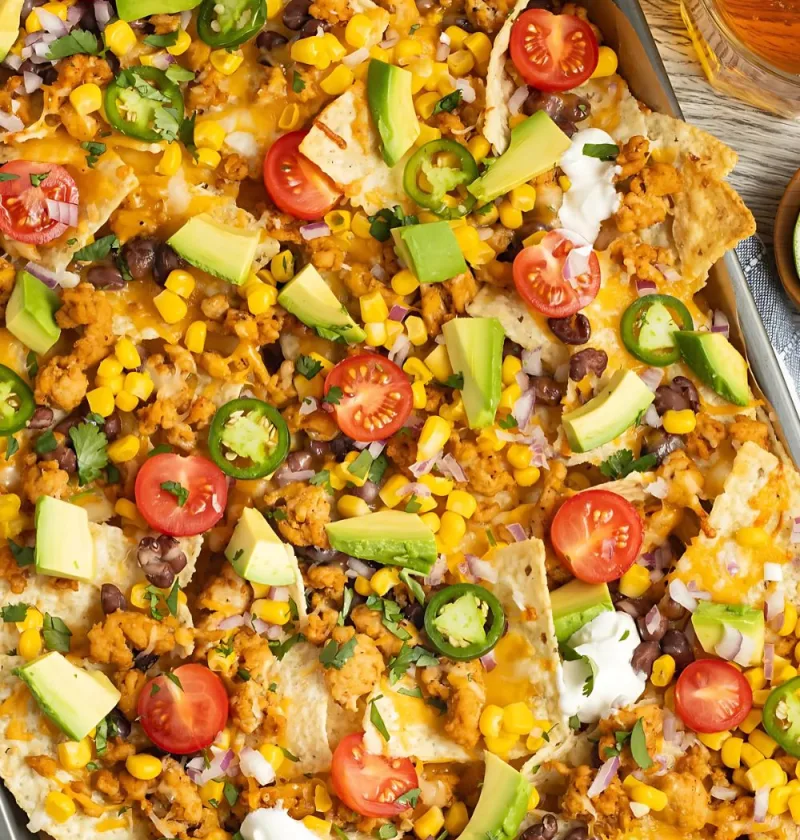
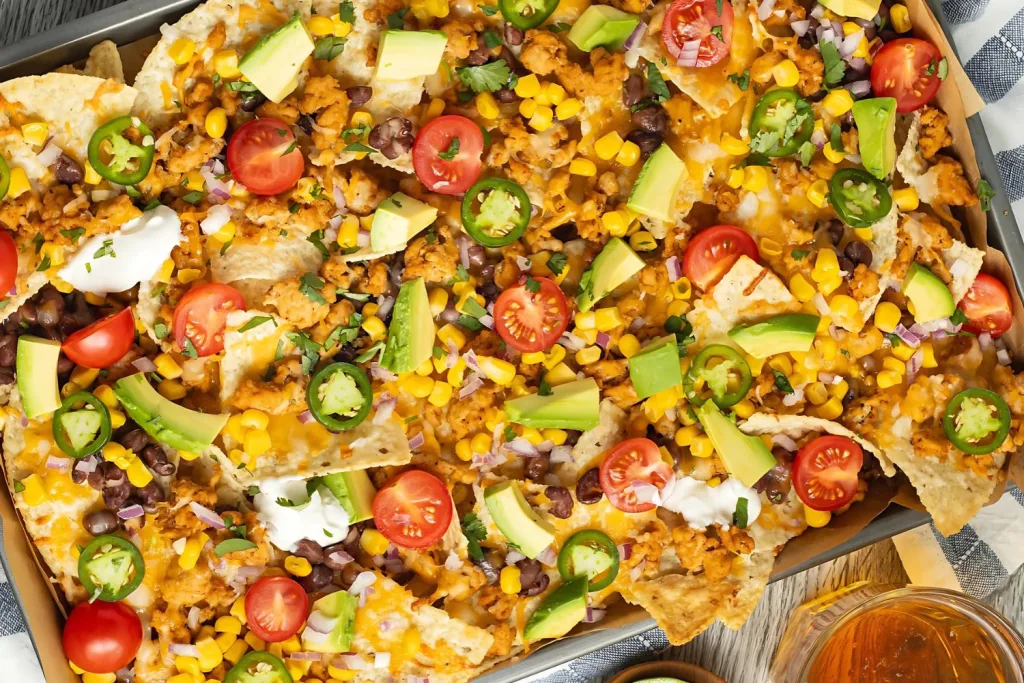
If you’re anything like me, you want snacks that are quick, full of flavor, and always a hit with a crowd. That’s why I had to share this amazing chicken nachos recipe I made last weekend. It was a total showstopper—loaded with juicy ground chicken, melty cheese, crunchy chips, and colorful toppings.
It reminded me why I love simple meals that still wow guests. This also pairs surprisingly well with a fresh side like a salad recipe or even your favorite chicken alfredo recipe for a party platter. Let me walk you through everything I did to make this perfect, party-ready snack.
Additional Tips for Making This Recipe Better
Here are some things I learned after making this recipe a few times. These little tips made a big difference in taste and presentation:
- Use freshly grated cheese – It melts better and has more flavor than pre-shredded cheese.
- Drain the chicken well – Removing extra liquid keeps your chips crispy and not soggy.
- Layer cheese twice – Start with a layer under the toppings and another on top so every bite has gooey goodness.
- Use cherry tomatoes – They add a sweet and juicy burst that balances the spices.
- Add the cold toppings last – Don’t bake avocado, cilantro, or yogurt. Add them fresh after baking for the best texture and taste.
- Try Greek yogurt instead of sour cream – A lighter, healthier swap that still gives that creamy finish.
Creative Twists and Tasty Variations
Want to customize your nachos? You absolutely can! I’ve tried a few variations to suit different tastes or diets, and here’s what worked well:
- Dairy-Free Version: Swap cheese for vegan cheese or a dairy-free nacho sauce.
- Low-Carb Option: Use low-carb tortilla chips or even sliced and baked zucchini rounds as a base.
- Extra Protein Boost: Add shredded rotisserie chicken or a few spoonfuls of cooked quinoa.
- Spice It Up: Mix in hot sauce or cayenne pepper with the chicken for a spicier version.
- Veggie Lover’s Edition: Add sautéed bell peppers, mushrooms, or even shredded lettuce on top.
Must-Have Tools to Make This Nacho Magic Happen
These are the basic tools I used, and each one really helped keep things easy:
- Skillet – To cook the ground chicken and mix in the seasoning.
- Wooden Spoon – Perfect for breaking up and stirring the chicken as it cooks.
- Baking Sheet – Needed for layering and baking the nachos evenly.
- Parchment Paper – Prevents sticking and makes cleanup super easy.
How to Serve Chicken Nachos for Maximum Impact
Presentation always takes your dish from good to “WOW!” Here are my favorite ways to serve:
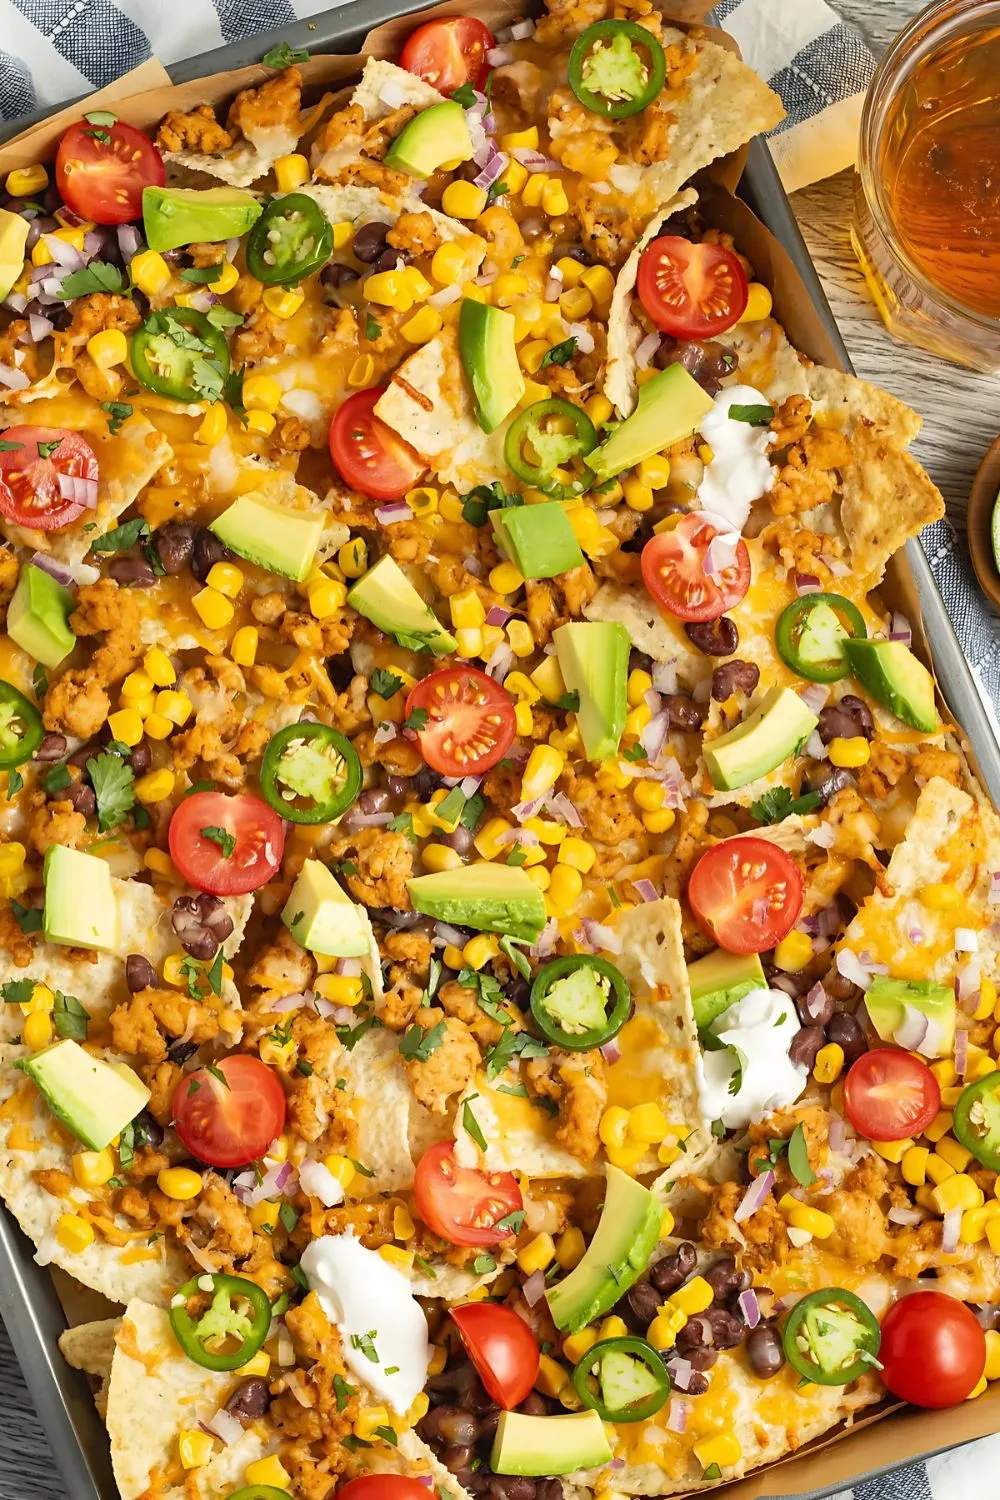
- Use a large platter or wooden board – It spreads everything out beautifully.
- Garnish with fresh herbs – Sprinkle chopped cilantro just before serving.
- Serve with dipping sauces – Greek yogurt, guacamole, and salsa on the side are must-haves.
- Add lime wedges – A quick squeeze over the top adds a zesty kick.
- Keep napkins handy – Trust me, things get delightfully messy.
Pair these nachos with a spicy drink or your favorite chicken curry recipe Indian style for a bold and flavorful meal combo.
The Best Way to Store Your Chicken Nachos
Not all nachos last long (they’re too delicious!), but if you have leftovers:
- Storing: Place leftover nachos in an airtight container. They’ll keep in the fridge for up to 2 days, but know the chips will soften.
- Freezing: I wouldn’t recommend freezing fully assembled nachos. But you can freeze the cooked ground chicken mixture alone for up to 3 months.
- Reheating: Reheat leftovers in the oven at 350°F for 10 minutes. This helps bring back some crispiness. Avoid microwaving if you can—it makes the chips soggy.
Why You’ll Love This Chicken Nachos Recipe
Let me tell you why I keep coming back to this recipe. Here are a few reasons it’s become my go-to:
- So Easy to Make
It takes just 20 minutes from start to finish. Perfect for last-minute guests or weekend snacks. - Super Versatile
You can switch up the toppings, cheese, and meat to match your mood or what you have on hand. - Perfect for Sharing
It’s a crowd-pleaser at parties, family dinners, or even movie nights. Everyone can grab a bite. - Balanced Flavors
Sweet corn, savory chicken, spicy jalapeños, and creamy avocado make every bite exciting. - Healthier Option
Using baked chips, lean meat, and Greek yogurt helps keep this on the lighter side.
Other Helpful Info You’ll Want to Know
If it’s your first time making nachos, here are a few extra tips that helped me make this recipe smoother and more fun:
- Don’t overload with toppings before baking – Keep cold toppings like tomatoes, avocado, and yogurt aside until after the oven.
- Use taco seasoning wisely – If it’s pre-salted, be careful not to over-salt the dish.
- Cherry tomatoes > regular – They don’t release as much water and keep the nachos from getting soggy.
- Bake just until cheese melts – About 5–7 minutes. Any longer, and the chips might burn.
- Fresh is best – Use ripe avocado and fresh cilantro for the best topping finish.
Chicken Nachos Recipe
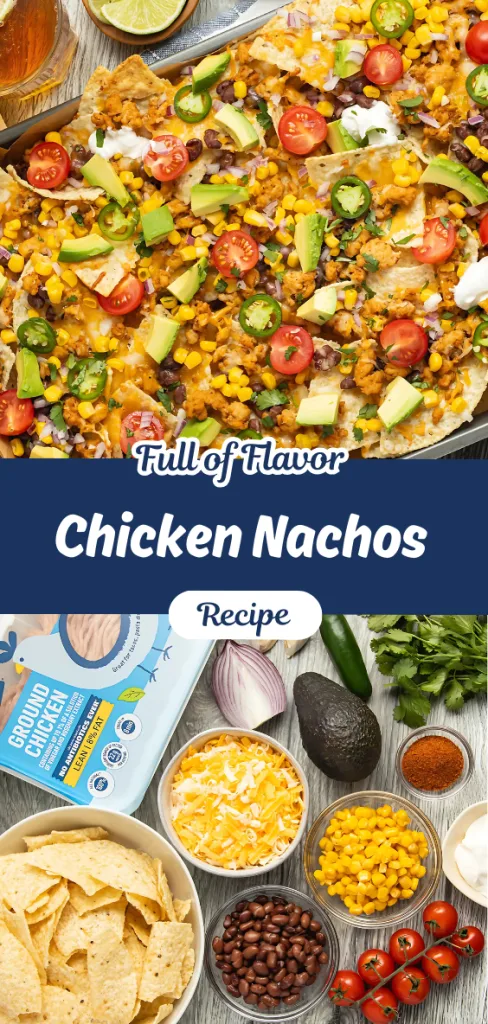
Ingredients
Method
- Start by preheating your oven to 400°F (200°C). Line a baking sheet with parchment paper. While the oven heats, chop the tomatoes, avocado, red onion, jalapeño, and cilantro. Set aside. These fresh ingredients will be added after baking for a burst of flavor and color.
- Heat the oil in a skillet over medium-high heat. Add the ground chicken and sprinkle in the taco seasoning. Stir often and cook for about 7 minutes until browned. Add the minced garlic and continue to cook for another 1-3 minutes, until fragrant. Drain any extra liquid before removing it from the heat.
- Spread your tortilla chips across the parchment-lined baking sheet in an even layer. Sprinkle half the shredded cheese over the chips, then add the cooked chicken and black beans. Finish with the rest of the cheese on top. This layering ensures every chip has a bit of everything.
- Place the baking sheet in the oven and bake for 5–7 minutes, or until the cheese is melted and bubbly. Once out of the oven, top with corn, cherry tomatoes, red onion, avocado, cilantro, and sliced jalapeños. Add a dollop of Greek yogurt or sour cream if desired, and serve right away while warm and crispy.